Adding and configuring Aeon Labs Multisensor 6 in Domoticz
In previous post we added a Z-Wave power plug in Domoticz (click here to read the post). Now, in this post we will add and configure an Aeon Labs Multisensor 6 in Domoticz. The multisensor is one physical device but comprises six different sensors:
- Motion sensor
- Temperature sensor
- Humidity sensor
- Vibration sensor (mainly for tampering alerts)
- Light sensor (measured in Lux)
- UV sensor
After adding the multisensor, we will be focusing on the features of the motion sensor, the temperature sensor and humidity sensor.
What equipment do we use to add and configure the Multisensor 6?
- A Raspberry Pi 2 (model B) with a Razberry Z-Wave add-on card
- Domoticz (installation guide can be found here)
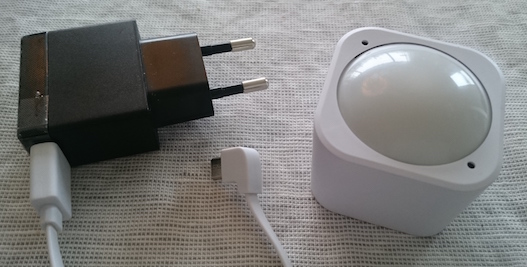
- Our Aeon Labs Multisensor 6
- A 5 volt micro USB power adapter (or two CR123A batteries)
Adding the Multisensor 6 in Domoticz
Our Multisensor has factory settings. If yours has not, make sure you reset it by pressing and holding the action button for 20 seconds carefully while the Multisensor is powered on. This will reset it to factory settings.
You can use the Multisensor with both a power adapter and batteries. For the sake of simplicity we use a 5 volt micro USB power adapter while we configure it. To add the Multisensor in Domoticz, we start exactly as we did with the power plug (explained in this post) by selecting ”Hardware” in the ”Setup” menu, which gives us this view.
Then we click on the blue ”Setup” button next to the version number.
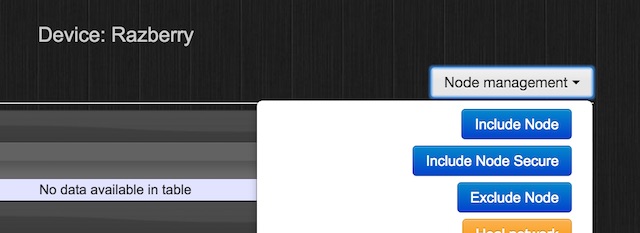
In the ”Node management” dropdown list, click on ”Include Node”.
The inclusion process starts and we click once on the Action Button on the Multisensor (make sure it’s powered on).
In the nodes list of our Raspberry controller we can now see our Aeon Labs Multisensor 6 showing up next to our Philio power plug we added previously.
Selecting ”Devices” in the ”Setup” menu in the upper right corner of Domoticz, gives us the list of devices in our Z-Wave network. You realize that we have 7 new entries. This is because the Aeon Labs Multisensor 6 comprises several sensors in one physical unit (hence the name ”multisensor”) and two virtual sensors.
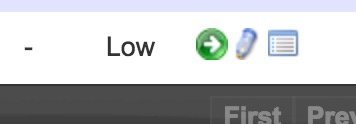
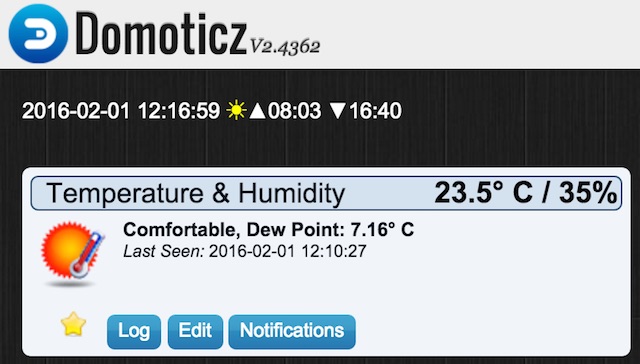
We’d like to use the motion sensor and the Temp + Humidity sensor and add them to our dashboard of Domoticz. On the right side of the row of the Temp + Humidity sensor we click on the green arrow to add the device to the ”Temperature” tab of Domoticz.
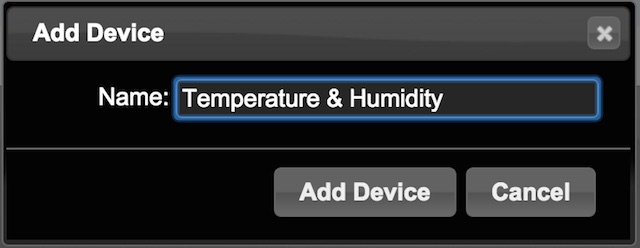
Give it a name of your choice and click ”Add Device”.
Now, go to the ”Temperature” tab and click on the star icon (to the left side of the ”Log” button) so it turns yellow.
Looking at the ”Dashboard” tab of Domoticz, we find our temperature and humidity sensor and our previously added Z-Wave power plug.
We do the same thing for the motion sensor (default name is ”Sensor” in the device list) so it shows up on the dashboard as well.
Calibrating the values of the Aeon Labs Multisensor 6
You might already have recognized that the temperature and humidity values of the Aeon Labs Multisensor 6 are incorrect. The good news is that they are possible to be calibrated. Start by taking a temperature sensor you trust showing a correct value and place it next to the Multisensor.
Take note of the value the external temperature sensor shows and also the value that the Multisensor reports to the Domoticz user interface. In our case, we get 21.3 C on our external temperature sensor versus 23.5 C from the Multisensor. The temperature difference is thus -2.2 C. To calibrate our Multisensor by this difference we go to our ”Nodes” list by selected ”Hardware” in the ”Setup” menu and then click on the blue ”Setup” button.
Make sure you have clicked on the ”Aeotec Multisensor 6” row in order for the parameter input fields to show up under ”Configuration”. Scroll down to parameter 201.
If your Aeon Labs Multisensor 6 shows an incorrect temperature value, you need to enter a calibration offset value in the ”Temperature Calibration” field. For example, if your Multisensor shows a 1.4 C too low value, you should enter the value 14 (if it’s 2.3 C too low, show should enter 23 and so on). It’s a bit more tricky if your Multisensor shows a too high value, which is our case. We want to calibrate the Multisensor by adjusting -2.2 C degrees. To do this we substract 22 from 256 and end up with 234. This is the value we enter. If it would have been -3.4 C degrees, we’d have to enter 256 – 34 = 222 instead.
We enter 234 and click the blue button ”Apply configuration for this device” at the bottom of the page. Soon, we should see our Multisensor reporting a correct temperature value. It might take some time dependant how frequently the temperature sensor reports the temperature value to the Raspberry controller.
Yes! Now the temperature looks much better. We go back to the configuration parameters again and do the same thing to calibrate the humidity value.


